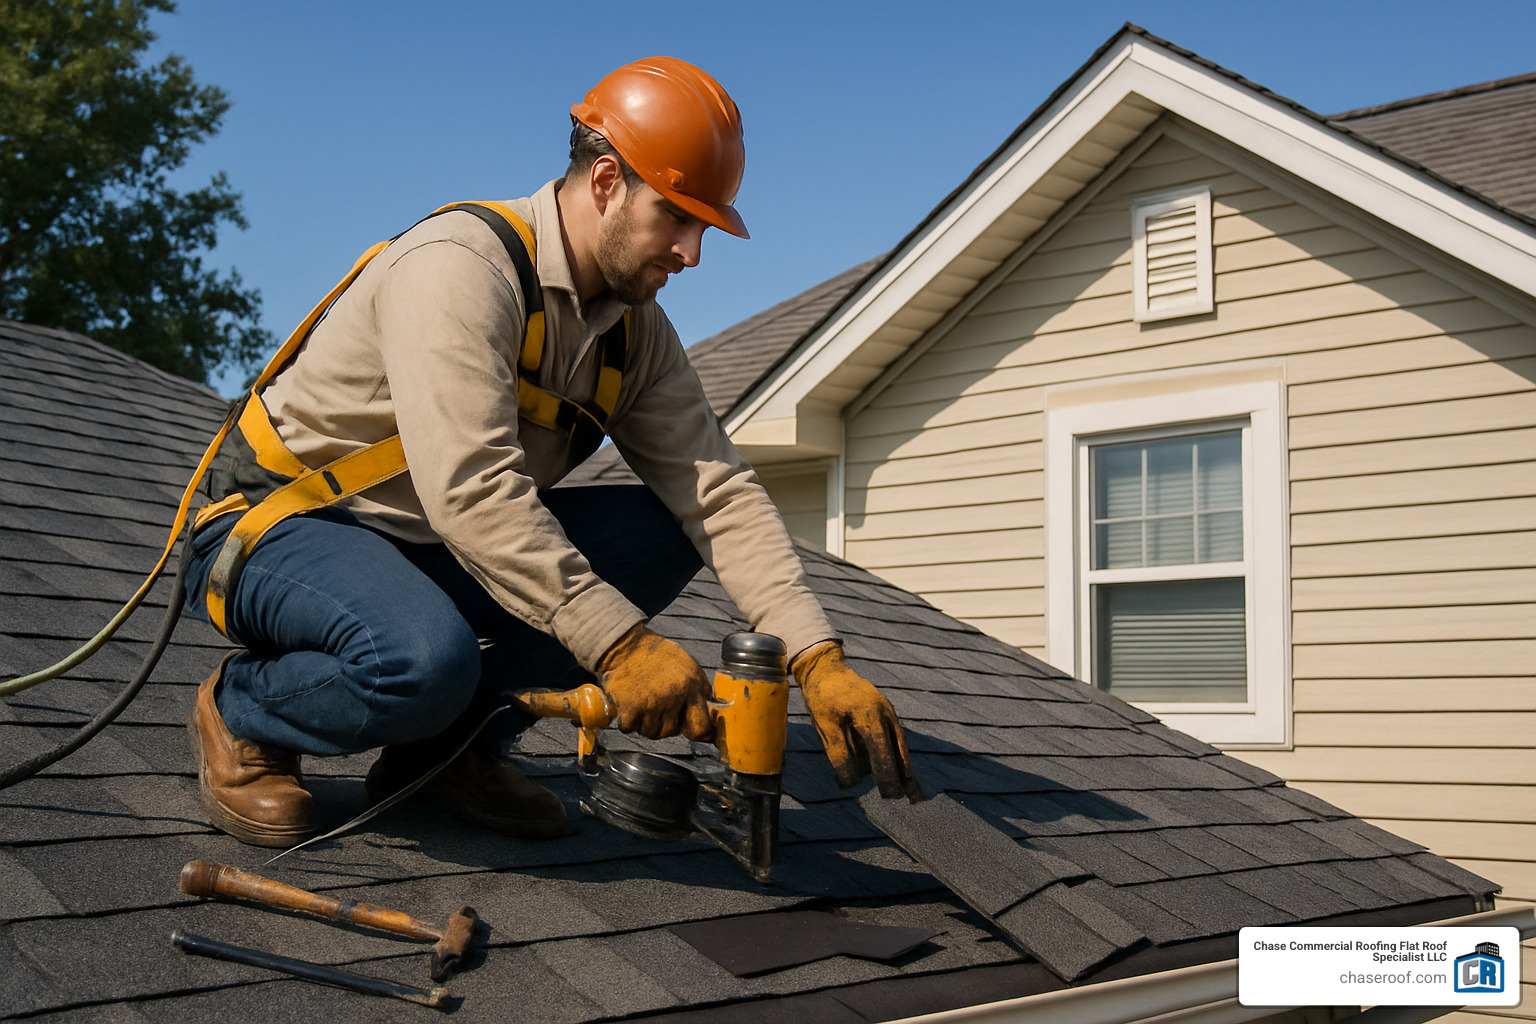
Roof leaks can wreak havoc on your property, leading to structural damage, mold growth, and costly repairs if left unchecked. Identifying and addressing leaks early is crucial to maintaining the integrity of your home or commercial building. At Chase Roof, we specialize in keeping your roof leak-free, ensuring peace of mind and protection for your property.
Why Roof Leaks Happen
Roof leaks are often caused by:
- Aging Materials: Over time, roofing materials like shingles or tiles deteriorate, making them more prone to leaks.
- Weather Damage: Heavy rain, hail, and strong winds can damage roofing components, creating entry points for water.
- Poor Installation: Improper installation of roofing materials or flashing can lead to water seepage.
- Clogged Gutters: Blocked gutters can cause water to pool on your roof, leading to leaks.
- Tree Damage: Overhanging branches can puncture the roof during storms or shed debris that accelerates wear and tear.
- Roof Design Issues: Low-slope or flat roofs are more prone to water pooling, increasing the risk of leaks.
To help visualize these causes, the chart below highlights the most common reasons for roof leaks and their relative impact:
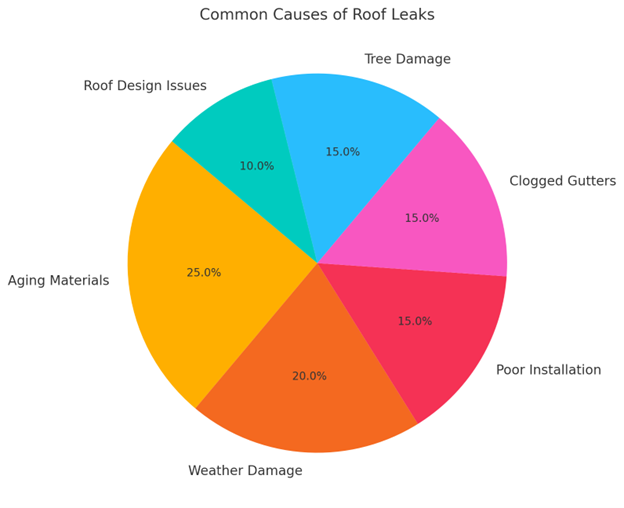
This visual representation emphasizes the importance of addressing common problems like aging materials and clogged gutters promptly to prevent extensive damage.
Understanding these causes can help you spot potential problems before they escalate.
Step 1: Identifying Roof Leaks
1. Inspect Your Roof Regularly
Perform visual inspections at least twice a year—once in the spring and once in the fall. Look for:
- Missing, cracked, or curling shingles
- Damaged or rusted flashing
- Debris accumulation in gutters or valleys
- Sagging areas on the roof
- Granules from asphalt shingles in gutters or on the ground
For additional tips on proactive care, check out our Commercial Roof Maintenance Tips.
2. Check Indoors for Signs of Leaks
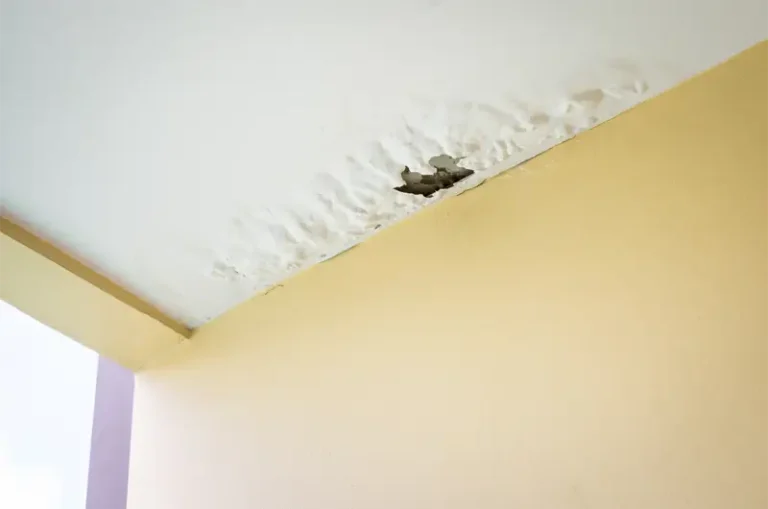
Roof leaks often manifest inside your home. Common indicators include:
- Water stains on ceilings or walls
- Peeling paint or wallpaper
- Musty odors
- Mold growth in attic spaces
- Dripping water during or after heavy rain
To learn more about early detection, visit our How to Identify Roof Leaks Early.
3. Test with a Water Hose
If you suspect a leak but can’t pinpoint it, recruit a helper. Use a garden hose to simulate rain, spraying sections of the roof while someone inside checks for signs of water ingress. Focus on valleys, flashing, and areas around vents or chimneys.
4. Utilize Technology
Thermal imaging cameras or moisture meters can help identify hidden leaks. These tools detect temperature variations or moisture buildup, making it easier to pinpoint problematic areas. According to this article by The New York Times, leveraging technology for home inspections is becoming increasingly effective.
Step 2: Fixing Roof Leaks
1. Patch Small Holes or Cracks
- Use roofing sealant to patch small cracks or holes.
- Apply the sealant with a putty knife, ensuring the area is clean and dry.
- Reinforce with roofing tape if necessary.
2. Replace Damaged Shingles
- Pry up the damaged shingle with a flat bar.
- Remove nails and replace the shingle with a new one.
- Nail it into place and seal the edges with roofing adhesive.
- Ensure the replacement shingle matches the surrounding area to maintain aesthetics.
3. Reseal Flashing
- Inspect the metal flashing around vents, chimneys, and skylights.
- Remove old caulking and clean the area thoroughly.
- Apply a fresh layer of roofing sealant for a watertight seal.
- Secure loose flashing with additional nails or screws as needed.
For emergency assistance, explore our Emergency Roof Repair Services.
4. Clear Clogged Gutters
- Remove debris from gutters and downspouts.
- Ensure water flows freely to prevent pooling on the roof.
- Consider installing gutter guards to reduce future blockages.
5. Fix Vent Boots
- Inspect rubber vent boots for cracks or tears.
- Replace damaged boots to prevent water from seeping around pipes.
- Secure the new boot with roofing nails and seal the edges with adhesive.
6. Repair Large Leaks with Professional Help
For extensive damage, it’s best to call professionals like Chase Roof. Attempting DIY repairs on major leaks can worsen the problem if not done correctly. Professionals have the expertise and tools to assess the full extent of damage and provide long-lasting solutions.
7. Address Insulation and Interior Damage
- Replace water-damaged insulation to prevent mold growth.
- Dry out affected areas using dehumidifiers or fans.
- Repair ceilings or walls impacted by water stains.
Step 3: Preventing Future Roof Leaks
1. Schedule Regular Maintenance
Professional inspections can identify issues before they become serious. At Chase Roof, we offer comprehensive maintenance plans tailored to your roof’s needs. Regular maintenance includes:
- Checking for loose or missing shingles
- Inspecting flashing and vents
- Ensuring proper gutter drainage
Explore our Commercial Roofing Services for a complete range of maintenance and repair solutions.
2. Trim Overhanging Trees
Prevent damage from falling branches by trimming trees near your roof. This also reduces debris accumulation and minimizes the risk of pests accessing your roof.
3. Clean Gutters Seasonally
Clogged gutters can exacerbate roof leaks. Clean them in spring and fall to ensure proper drainage. Additionally, check downspouts for blockages to ensure water is directed away from your foundation.
4. Upgrade Your Roof’s Materials
Consider investing in durable, weather-resistant materials for enhanced protection. Metal roofs, high-quality shingles, or synthetic underlayment provide better resistance against leaks and harsh weather.
To explore metal roofing options, visit our Metal Roofing Services.
5. Install Roof Coatings
A waterproof roof coating can extend your roof’s lifespan and provide an extra layer of leak protection. This is especially beneficial for flat or low-slope roofs.
6. Ensure Proper Attic Ventilation
Poor ventilation can cause moisture buildup, leading to mold growth and damage. Ensure your attic has adequate vents to maintain airflow and reduce humidity.
7. Monitor After Storms
After heavy storms, inspect your roof for damage or debris. Prompt action can prevent minor issues from escalating into significant problems.
Why Choose Chase Roof for Leak Repairs?
At Chase Roof, we combine expertise with top-tier materials to provide lasting solutions for roof leaks. Here’s why homeowners and businesses trust us:
- Experienced Team: Our skilled professionals are trained to handle all types of roofing systems, from asphalt shingles to metal and flat roofs.
- Quick Response: We understand the urgency of roof leaks and prioritize timely repairs.
- Quality Assurance: We use only premium materials to ensure your roof stays leak-free for years.
- Comprehensive Services: From inspections and repairs to maintenance and replacements, we’re your one-stop solution for all roofing needs.
- Customer-Centric Approach: We prioritize your satisfaction, offering transparent pricing and detailed project timelines.
Conclusion
Roof leaks can lead to significant damage if left unaddressed, but identifying and fixing them doesn’t have to be overwhelming. Regular inspections, prompt repairs, and preventive measures can save you money and stress in the long run. For reliable, expert assistance, trust Chase Roof to keep your property protected.
Visit our website or call us today to schedule a consultation and safeguard your roof against leaks. With Chase Roof, your roof’s health is always in expert hands.